The workspace views and tables
Views and tables allow you to visualize your
Your views and tables are organized in a tree structure in the View Explorer, which allows you to easily show/hide your views and tables by using the checkboxes. When you are working with multiple views open at the same time, View linking options can help you better visualize, understand, analyze and compare your data.
Views and their tabs click to enlarge
Creating a new view
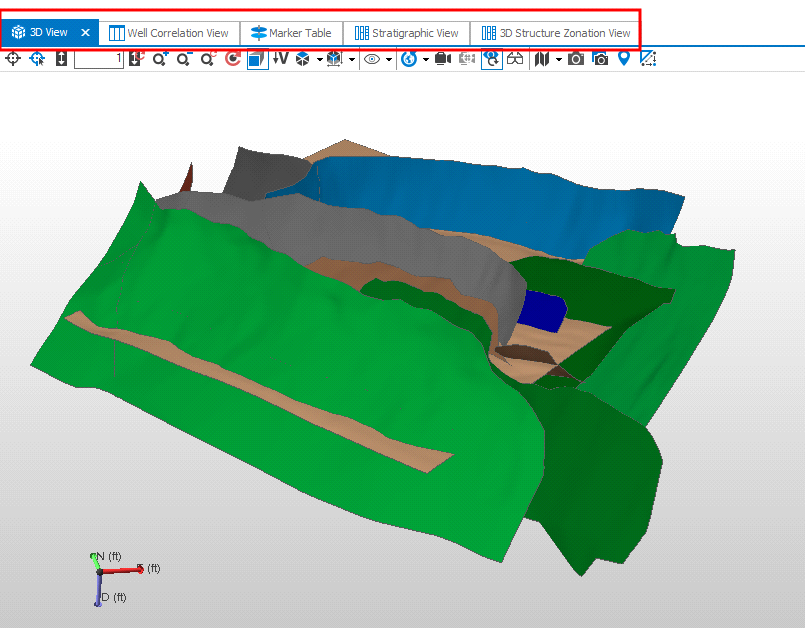
To create or open a new view, go to Workspace > Views and from the drop-down list select the type of view you wish to create. Alternatively, you can use the shortcut combination to open a specific view, or use the Create option of the context menu in the View Explorer.
| View | Shortcut |
| 3D View | Alt+F1 |
| 2D View | Alt+F2 |
| Seismic View | Alt+F3 |
| Well View | Alt+F6 |
| Production Data View | Alt+F7 |
| Stratigraphic View | Alt+F8 |
| Charts View | Alt+F9 |
| CoView | Alt+F11 |
Hiding views
A third option is to right-click on the tab of a view and select Hide from the context menu. Views that are hidden can be restored using the View Explorer.
Tiling and floating views
By default, your views are displayed on top of each other and selected by clicking the appropriate tab. If you want to see more than one view at a time, you can also tile or float them. To tile your views, right-click on the tab and select New Horizontal Tab Group or New Vertical Tab Group from the context menu. In this way you can see your views next to each other without manually resizing and dragging them around.
To restore your views back to be on top of each other and selectable via their tabs, drag your view and use the Dock Manager to dock it at the desired location.
Particularly if you have multiple monitors, you may wish to float one or more views. This means that they become detached from the main window in their own window so you can drag them where you wish. To float a view, either double click on the corresponding tab, or right-click and select Float from the context menu.
To put a floated view back within the view area, or unfloat it, right-click on the title bar of the view and select Dock from the context menu.
View tab context menu
Right-click on a view’s tab to open a context menu and the following options are available for each view tab.
Hide Hide the view from the main view area. You can restore a hidden view via the View Explorer.
Show Show a hidden view in the main view area again. This option only appears in the context menu of a hidden view in the View Explorer.
 ). Views with dedicated names, such as the Seismic View, where the name refers to the selected seismic slice that is on display, cannot be renamed.
Duplicate Create a copy of the view with all the view settings, except the view linking state.
Link / Unlink
Link Visibility This option shows/hides objects simultaneously in multiple views. Select this option in all views where you want to link visibility.
Link Camera This option controls the rotation, panning, zooming and depth/area scaling in multiple views simultaneously. Select this option in all views where you want to link the camera.
Link Cursor With this option you can see the movement of your mouse cursor in multiple views. Select this option in all the views where you want to see the movement of your mouse cursor.
Float Detach the view from the main view area so you can drag it. Alternatively, you can double click on a docked view's tab to float it.
Dock Bring the floating view back to the main view area. This option only appears in the context menu of a floating view's window.
New Horizontal Tab Group Split the current view area horizontally in half and place the view at the bottom.
New Vertical Tab Group Split the current view area vertically in half and place the view on the right.
Delete Delete the view. The view is removed from the View Explorer and cannot be restored.