Creating or editing an auxiliary information group
When you add auxiliary information to already existing auxiliary information (right-click on the auxiliary information and select Add from the context menu), that data will be grouped auxiliary information. You can recognize grouped auxiliary information by the title and the icon that are used.

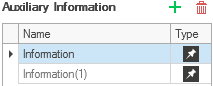
You can identify grouped auxiliary data in your view by the icon and the title. click to enlarge
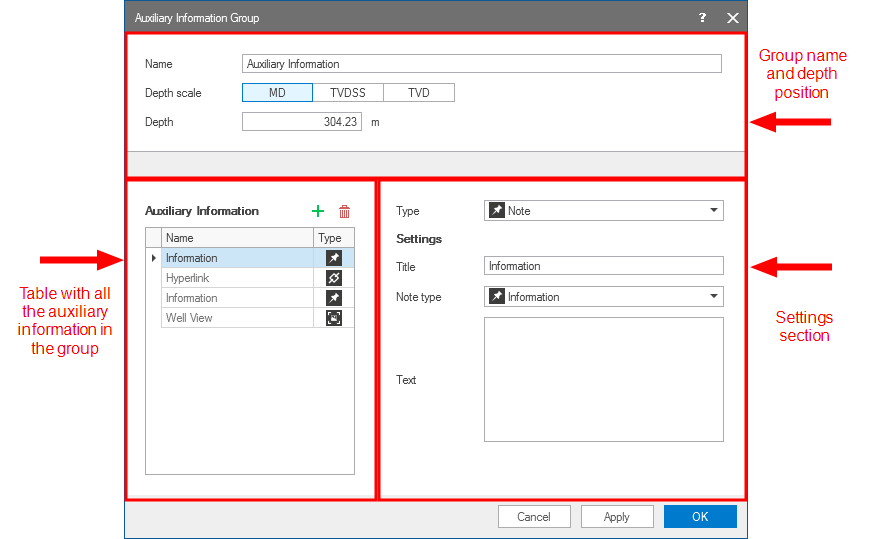
The Auxiliary Information Group form that opens when you add auxiliary information to auxiliary information, allows you to add any kind of auxiliary information to the group. The form is divided in three sections, see image below. The options on the form vary depending on the object to which the auxiliary information is added, and what type of information you are adding or editing.
You can add and edit auxiliary data in a group. click to enlarge
Upon opening the form, the default name (Auxiliary Information) that is given to the auxiliary information group is already filled in. If you are adding the auxiliary information to a wellbore, depth scale en depth are also available. You can change the name of the group by clicking in the Name entry field, and then typing the name of choice.
Next, you use the Auxiliary Information table to add the type of auxiliary information needed. Upon opening the form, auxiliary information of the type note is preselected, and highlighted in blue. Use the toolbar options to add  more (note) items to the group or delete
  items from the group.
By default, a note of the type information is added. click to enlarge
You can adjust the settings for the highlighted auxiliary information in the settings section.
Type Select one of the available options from the drop-down list. Choose from: note, file, hyperlink,
Title Name of the auxiliary information. The name you use here, will be used in the list that is shown when you select the View option from the context menu of auxiliary information.
Note type (only when selected type is note) Select what kind of information you are providing by selecting one of the available options from the drop-down list. Each type has its own color and its own icon.
Text Use this text box to list all the information that is needed for the note.
File Click the ellipsis button  to open the file explorer dialog. Select the file you want to add to the object. Click Open. To preview the file you are adding, click the Open file button
 ![]() .
.
Address For hyperlinks, type the url of the site you want to link to in one of the following formats: use the protocol and the domain name, e.g. 'http://www.JewelSuite.com', or use the web page name, e.g. 'JewelSuite.com'. Click the Follow link![]() button to go the site directly from this form.
button to go the site directly from this form. ![]() button to open a new instance of the application with the selected DMS solution.
button to open a new instance of the application with the selected DMS solution.
View This drop-down list is populated with all the visible views in your solution. If you want, you can add a screen capture of one of these views by selecting it from this list. Be aware that the title is not automatically updated when you change the view. A preview is shown.
When you are done with adding or editing auxiliary information to the group, click Apply to save and apply the changes and keep the form open, or click OK to save and apply the changes, and close the form.
To show or hide auxiliary information for an object in a 3D View or 2D view, either use the checkbox of the data in the JewelExplorer (all auxiliary data is stored in an Auxiliary Data folder under the object it belongs to), or use the Auxiliary Data > Show option in the context menu of the object. To show or hide auxiliary information for a wellbore in the Well View, use the context menu in the auxiliary information track.