Graphically creating wells
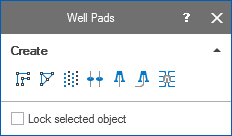
Use the last three tools in the Create section of the floating palette for wells and well pads click to enlarge
You can create wells in your 3D view using the Create Vertical Well Design ![]() and Create Deviated Well Design
and Create Deviated Well Design  tools in the Create section of the floating palette (select Workspace > Tools > Editing Tools on the right-hand side of the Strip to open this).
Creating vertical and deviated wells
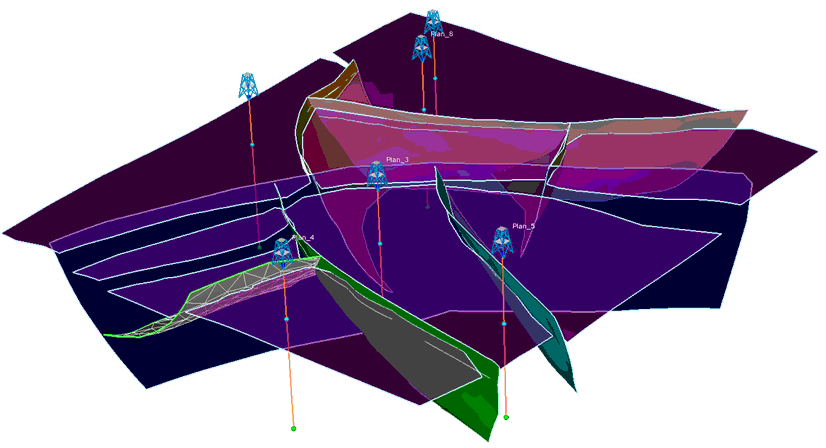
Six vertical well designs click to enlarge
To create a vertical well, first display the location where you want the well to be in your 3D view. Since you must click on a surface or cross section in your 3D view to identify a point in 3D space, you may wish to create a cross section and position this at the location of the well to give you something to click on. Click the Create Vertical Well Design ![]() tool and then in your 3D view to place the well.
tool and then in your 3D view to place the well.
A new well, called 'Well 1' , is drawn in your 3D view from the top to the bottom of the model bounding box. Your new well also appears in the JewelExplorer under Well Data > Wells, and this contains a single wellbore of the same name. The Well Designs folder under Well Data will also contain a well design (used to generate the well) with the same name.
You can edit your well by right-clicking on it in your 3D view or the JewelExplorer and selecting Edit... from the context menu. This opens the Well form
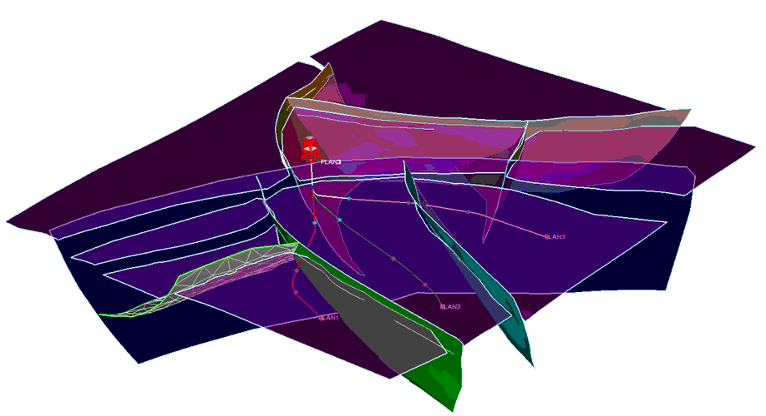
Three deviated well designs click to enlarge
To create a deviated well, first display the location where you want the well to be in your 3D View. Add a cross section in your 3D View along the trajectory of the well you want to construct and select the Create Deviated Well Design tool. Click on the cross section in your 3D View to create a well with the deviation starting at the surface of the location you clicked. The well plan appears in your 3D View, the floating palette automatically changes to the Add Target  tool, and your cursor also changes to indicate this tool is selected.
Now click in the cross section view or 3D view to create the next well design target. Your new well will update to include this target. Continue clicking to create further targets along the deviated wellbore to 'draw' it.
You do not have to be extremely accurate at this stage. You can easily adjust the trajectory of the wellbore using the graphical well editing tools on the floating palette. See Graphically designing wells and well pads.
When you create either a vertical or deviated well, it appears in your 3D view and in the JewelExplorer under Well Data > Wells with the name 'Well' plus a numerical suffix (Well 1 for example). This contains a single wellbore of the same name. A well design is also added in the JewelExplorer under Well Designs, again with the same name.